

How to Clean Your Herb Grinder: Step-by-Step Guide for Longevity
Hey there, fellow herb enthusiasts. If you’re like me, your herb grinder is that trusty sidekick that gets pulled out before every session. But let’s be real—how often do you actually give it a good scrub? I remember the first time I let mine go too long without cleaning; it got all gummed up, and grinding felt like wrestling a sticky monster. Not fun. Cleaning your herb grinder isn’t just about keeping it shiny; it’s key to making it last longer and work better. In this guide, we’ll walk through how to clean your herb grinder step by step, drawing from real tips that keep your gear in top shape. Whether you’re dealing with a basic two-piece or a fancy multi-layer one, we’ve got you covered. Stick around, and you’ll see why a little maintenance goes a long way.
Why Clean Your Herb Grinder Regularly?
First off, why bother? A dirty grinder doesn’t just look gross—it messes with everything. Residue builds up fast, especially if you’re grinding sticky buds daily. That gunk coats the teeth, making twists harder and grinds uneven. I’ve had sessions where the herb clumped up so bad, the flavor went flat, and potency? Forget it. Even heating in a vaporizer becomes a joke.
Worse yet, mold can sneak in. Weed’s organic, right? Leave it in a warm spot, and bacteria thrive. I once pulled out an old grinder from my drawer after months—yuck, fuzzy spots everywhere. Regular cleaning prevents that nightmare. Aim for once a month if you’re a daily user, or more if you switch between hemp and THC strains. High-CBD flower and potent marijuana don’t mix well in residue, trust me.
Plus, longevity. A well-maintained grinder can last years. Metal ones, like stainless steel, hold up great against drops, but neglect them, and they’ll wear out quicker. Think of it as car maintenance—skip the oil change, and you’re asking for trouble.
Types of Herb Grinders and What to Know
Before diving into cleaning, let’s talk types. Not all grinders are the same, and that affects how you clean them.
- Two-Piece Grinders: Simple top and bottom with teeth. Great for beginners. They’re easy to clean but don’t catch kief.
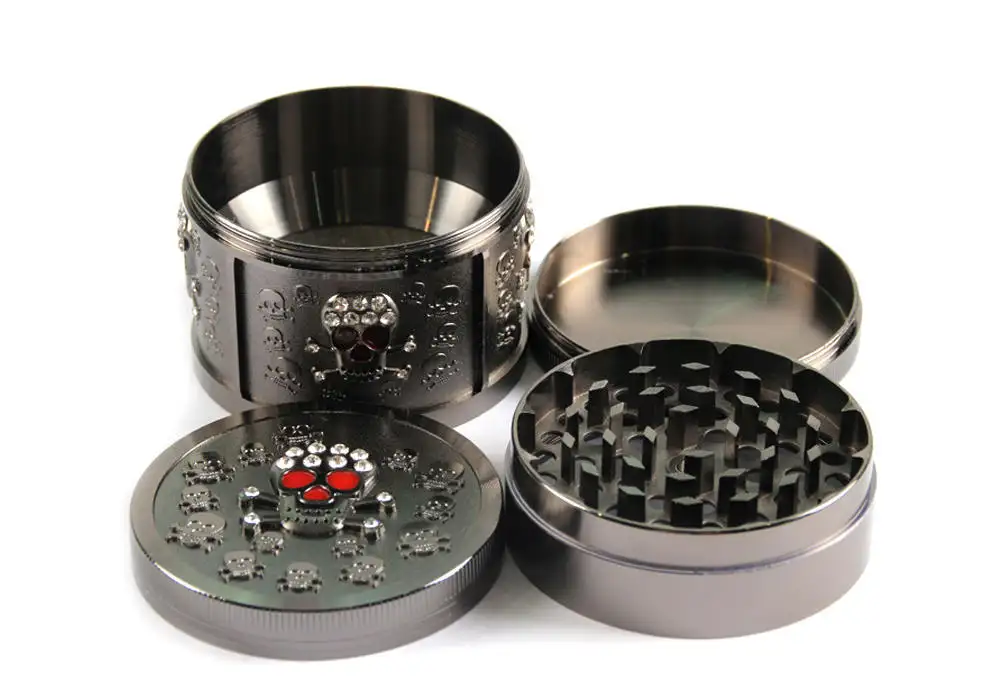
- Multi-Layer Grinders: Three or four pieces, often with a kief catcher. These collect those potent trichomes—don’t waste ’em! But more layers mean more spots for buildup.
- Materials Matter: Metal (aluminum, zinc) is tough and common. Plastic’s cheap but fragile. Wood? Stylish, but porous and tricky to clean.
From my experience, metal’s the way to go for everyday use. I’ve dropped mine a few times—no dents. If you’re into vaping like I am, a uniform grind from a clean grinder makes all the difference in flavor and vapor quality.
Tools You’ll Need for the Job
No fancy gadgets required. Most stuff’s already in your kitchen or bathroom. Here’s a quick list:
- Isopropyl alcohol (70% or higher—91% if you can get it)
- Dish soap (for non-metal grinders)
- A stiff toothbrush or small brush
- A container like a jar or zip bag
- Toothpick for stubborn spots
- Towel for drying
- Optional: Freezer space or coarse salt for deep cleans
Pro tip: Keep an airtight jar for saving kief. That stuff’s gold—sprinkle it on bowls for an extra kick.
Step-by-Step Guide to Cleaning Your Herb Grinder
Alright, let’s get hands-on. This is the meat of it: how to clean your herb grinder without hassle. I’ll break it into easy mode for quick jobs and deeper methods for when it’s really grimy.
Easy Mode: Basic Clean for Metal Grinders
Start simple. This works for most metal grinders and takes about an hour.
- Disassemble and Empty: Take it apart fully. Tap out loose herb into a bowl. Save that kief! I use a coin to shake it loose sometimes—old trick.
- Soak in Isopropyl: Fill a jar with alcohol, drop in the pieces. Let ’em sit 30 minutes. Shake occasionally. The alcohol breaks down oils like magic.
- Scrub Away: Pull out the parts (still wet) and brush off residue. A toothbrush gets into teeth crevices. If it’s stubborn, soak longer.
- Rinse and Dry: Warm water rinse, then air dry on a towel. Wait at least two hours—flip halfway. Damp grinders? Instant mess with fresh herb.
I do this monthly. Keeps things smooth.
Deep Clean: For When It’s Really Built Up
Neglected your grinder? No judgment—I’ve been there. Try these.
- Freezer Method: Pop the assembled grinder in the freezer for 30 minutes. Residue hardens and flakes off. Use a toothpick to pick at it. Follow with an alcohol soak.
- Overnight Soak with Salt: Add coarse salt to the alcohol for abrasion. Soak overnight. Scrub in the morning. Works wonders on layers of gunk.
Boiling? Some swear by it for metal, but I’m cautious. Heat a pot of water, simmer pieces for 5-10 minutes, then scrub. Skip if there’s plastic parts—they warp. And never boil wood.
Cleaning by Material: Tailored Tips
Different materials need different care. Here’s a breakdown:
| Material | Best Cleaning Method | What to Avoid | Why? |
| Metal (Steel, Aluminum) | Isopropyl soak + scrub | Harsh abrasives | Tough but can scratch; alcohol kills bacteria without damage. |
| Plastic/Acrylic | Dish soap in warm water, soak 6-7 hours | Alcohol or heat | Chemicals melt it; I’ve ruined one that way. |
| Wood | Gentle brush or damp cloth | Water/liquids | Porous—absorbs moisture, warps. Oil it occasionally for protection. |
For plastic, I mix three tablespoons of soap in water. Scrub gently. Wood’s finicky; I stick to brushing and food-grade oil to keep it looking good.
One side note: If you’re grinding for edibles, clean extra thoroughly. Residue can throw off recipes. I once baked brownies with old buildup—tasted off.
Discover High-Quality Herb Grinders from Bella420facto
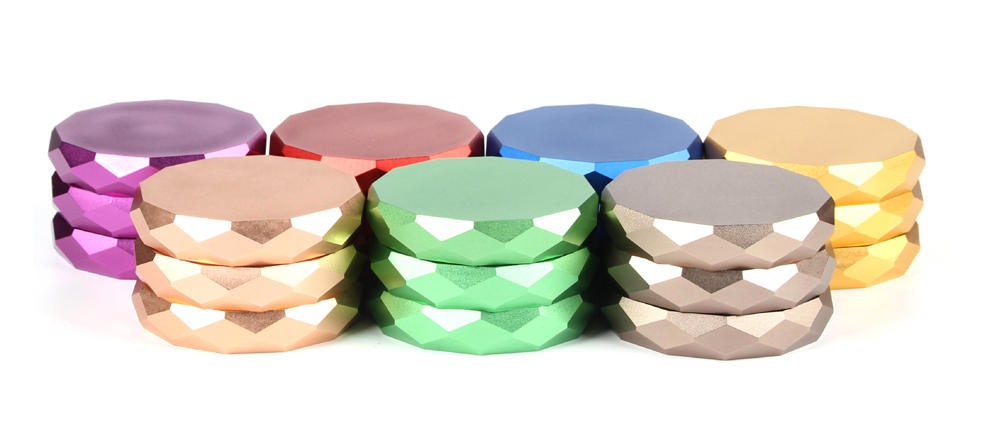
Speaking of grinders, if yours is on its last legs or you’re shopping for an upgrade, check out Bella420facto. We’re a go-to supplier for smoking accessories, with over 10 years in the game. From metal herb grinders like our 63mm colorful models to fun designs like pumpkin or football shapes, we’ve got variety. We handle customization and OEM too—small orders welcome. Quality’s our thing; every piece gets inspected before shipping. Plus, we ship globally via Alibaba or our site. If you’re building a collection, our grinders are built to last, making cleaning worth it. Head to bella420facto.com for more.
Conclusion
There you have it—a solid guide to clean your herb grinder and keep it going strong. Regular upkeep isn’t a chore; it’s what keeps your sessions fresh and efficient. Whether you’re a casual user or daily vaper, these steps save time and money in the long run. Give it a try next time, and you’ll notice the difference. Happy grinding!
FAQs
How often should I clean my herb grinder for longevity?
Depends on use. Daily? Every two weeks. Casual? Monthly. Clean your herb grinder before storage to avoid mold—I’ve learned that the hard way.
Can I use household items to clean my herb grinder step by step?
Absolutely. Isopropyl and a brush do most jobs. For deep cleans, freezer or salt helps. Just match the method to your grinder’s material.
Is boiling safe in a step-by-step guide to clean your herb grinder?
For metal, maybe—simmer a few minutes. But skip plastic or wood; they damage easy. I prefer alcohol soaks for safety.
What if my herb grinder has a kief catcher—any special tips?
Empty it first! Save the kief in a jar. Then clean as usual. Those catchers get sticky quick, so scrub well.
Where can I find durable herb grinders that are easy to clean?
Look at suppliers like Bella420facto. Their metal ones hold up great and make the cleaning process simpler.
REGIONS OF THE WORLD